
Welcome to the wonderful world of miniature crafting and small-space living! As we navigate the bustling urban landscapes of 2026, it is no secret that our living spaces are rapidly changing. In fact, recent property statistics show that nearly 40% of urban renters are actively seeking out compact, space-saving solutions for their homes. Apartments are getting cozier, and the need to maximize every square inch is more important than ever.
Have you ever looked at a tiny corner in your apartment and wondered how to make it useful? Or are you simply looking for a relaxing, creative hobby to unwind after a long day? Learning how to make a mini bedroom is the perfect solution. It serves as an incredible DIY home hack that bridges the gap between interior design planning and fun, hands-on crafting.
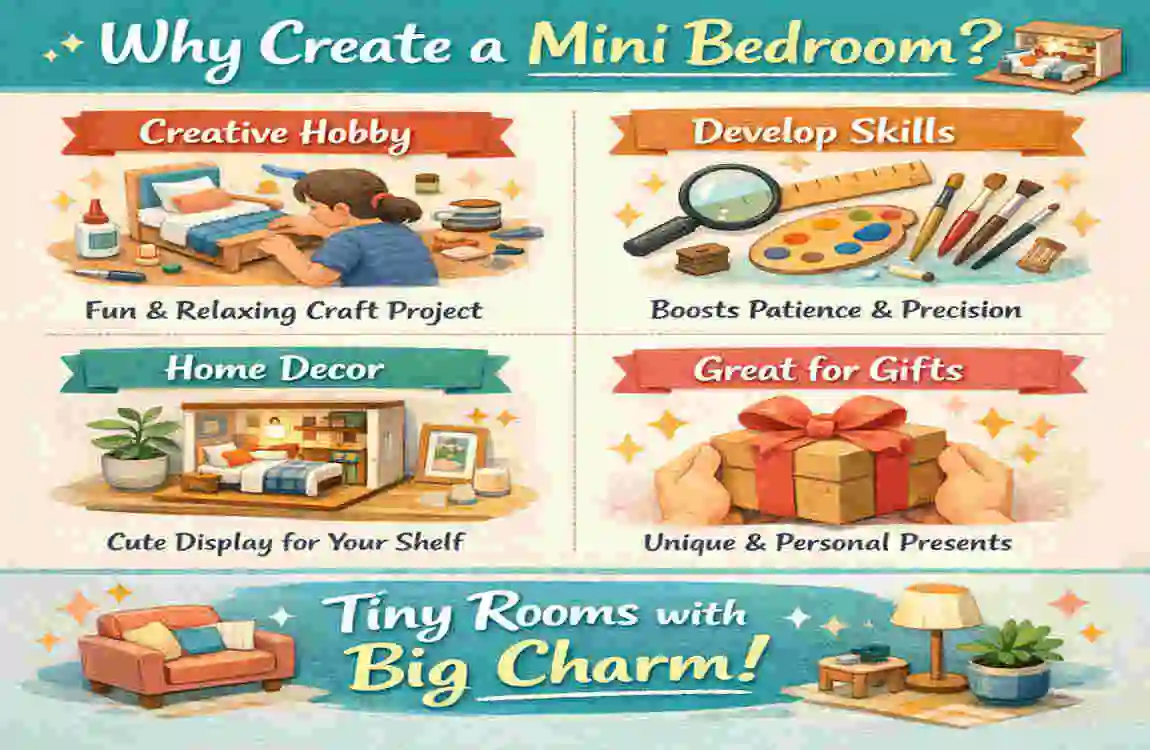
Why Create a Mini Bedroom?
You might be asking yourself, “Why should I spend my weekend figuring out how to make a mini bedroom?” It is a fair question! The answer lies in the rising global demand for multifunctional spaces. From compact apartments in Lahore to trendy micro-homes in Tokyo and New York, people are discovering the joy of going small.
Building a miniature room offers a wide variety of benefits that go far beyond just passing the time. Let’s look at why this trend is taking the DIY world by storm.
First, this project maximizes the use of tiny rooms. If you are planning to renovate a very small room in your actual house—like a 6×6-foot alcove—building a miniature scale model first is a brilliant home hack. It allows you to see exactly how your furniture will fit without having to push heavy beds and dressers around. You can test paint colors, bed placements, and lighting before making any expensive real-life commitments.
Second, it provides amazing kid-friendly dollhouse vibes or acts as an adult zen retreat. If you have children, crafting a dollhouse bedroom is a magical bonding activity. For adults, the hyper-focus required to paint tiny walls and glue tiny pillows is incredibly meditative. It forces you to unplug from screens and work with your hands.
Finally, we cannot ignore the eco-savings. This project heavily relies on upcycling. Instead of throwing away old delivery boxes or fabric scraps, you get to turn them into beautiful art. It is a fantastic way to reduce waste while creating something beautiful.
To give you a clearer picture, let’s look at a quick comparison between renovating a full-sized bedroom and crafting a mini DIY version.
FeatureFull BedroomMini Bedroom
Cost $1000+ $50-200
Build Time Weeks 1-2 days
Permits/Labor: Often required, just. You and your imagination!
As you can see, mastering how to make a mini bedroom saves you time, money, and space, all while sparking your inner designer.
Essential Materials & Tools
Before we start building, we need to gather our supplies. One of the best things about DIY mini bedroom projects is that you likely already have half of these items lying around your house. If you do need to go shopping, everything is highly affordable.
To make things easy for our readers in urban centers like Lahore, we have included estimated prices in Pakistani Rupees (PKR). However, these budget items translate well to any currency globally.
Here is what you will need to bring your mini bedroom ideas to life. Grab a basket and let’s collect our materials!
The Building Basics
- Base Materials: You need strong cardboard boxes. You can get these for free from your recycling bin or local grocery store. For a cleaner look, pick up some foam board (around $5 or 1500 PKR).
- Bed Framing: Popsicle sticks are the holy grail of miniature crafting. You will also need small fabric scraps (old t-shirts work great) and some cotton batting or tissues for stuffing the tiny mattress (approx. $10 or 3000 PKR total).
- Walls and Furniture: Grab some standard acrylic paints to color your walls. You will also need plenty of hot glue, maybe some matchsticks for table legs, and a string of mini LED fairy lights for ambiance (around $20 or 6000 PKR).
- Tools: Precision is key. You need a sharp X-Acto knife, a metal ruler, and a good pair of scissors. These essentials should cost you under $15 (or roughly 4500 PKR).
Here is a handy shopping list table to help you keep track of your budget. Check your local craft stores or order these online.
Item Needed, Estimated Cost (PKR), Where to Find / SEO Local Links
Cardboard/Foam Board 0 – 1500 Recycle bin / Local Stationery
Popsicle Sticks 500 Craft Store / Online Market
Fabric Scraps 0 – 500 Old clothes / Thrift Shop
Acrylic Paints 1000 Art Supply Store
Mini LED Lights 800 Electronics Market
X-Acto Knife & Ruler 1500 Hardware Store
Now that your workspace is set up and your tools are ready, it is time to roll up your sleeves. Let’s move on to the fun part!
Step-by-Step Guide to Crafting Your Room
This is the core of our journey. We are going to take those raw materials and transform them into a cozy, miniature sanctuary. Remember, patience is your best friend here. Do not rush the process. Enjoy the feeling of creating something from scratch.
plan Your Layout
Before you cut a single piece of cardboard, you need a solid plan. Think of yourself as a real architect. You wouldn’t build a house without a blueprint, right? The same rule applies to your DIY mini bedroom.
First, measure the space where your finished model will sit. Are you putting it on a bookshelf? On a desk? Make sure your final box fits there.
Next, grab a piece of scrap paper and a pencil. Sketch out a simple 2D floor plan. Decide where the bed will go, where the window should be, and if you want to include a tiny wardrobe or a small reading chair.
Build the Frame
Now that you have your blueprint, it is time to build the actual room. This step is all about establishing a strong foundation. You want your mini room to be sturdy enough to handle all the tiny furniture you plan to put inside.
Start by cutting your cardboard or foam board. You will typically need one large piece for the floor, and two or three pieces for the walls. We recommend a classic “room box” style with a floor, back wall, and two side walls, leaving the front completely open so you can see inside.
Use your metal ruler and your X-Acto knife to ensure your cuts are perfectly straight. Safety first: Always cut away from your body, and protect your table with a cutting mat!
Once your pieces are cut, it is time to assemble them. Hot glue is your best friend for this step because it dries quickly and holds strongly. Apply a thick line of glue along the edge of your floor piece, and firmly press your back wall into it. Hold it there for about thirty seconds until the glue sets. Repeat this process for the side walls.
To make the frame even stronger, reinforce the outside corners with masking tape. If you want to get really creative, you can even cut a square in one of the walls to serve as a window, or add a cardboard divider to separate the bed area from a tiny closet.
Craft the Bed & Mattress
A bedroom is not a bedroom without a bed! This is often the most enjoyable part of learning how to make a mini bedroom because it is where the room truly comes to life.
Grab your popsicle sticks. These will act as the timber for your bed frame. Cut the sticks to match the scale you decided on in Step 1. Glue several sticks together side by side to create the base of the bed. Then, cut shorter pieces to create a headboard and four little legs. Use a tiny drop of hot glue to secure all these pieces together. If you want a modern look, you can paint the popsicle sticks black or white. For a rustic look, leave them bare!
Next, we need a mattress. You do not want your imaginary tiny residents sleeping on hard wooden sticks! Take a scrap of thick fabric, or even a piece of an old kitchen sponge, and cut it to the exact size of your bed frame.
To make it look like a real mattress, wrap it tightly in a piece of smooth, white fabric—like an old dress shirt—and glue the edges to the underside.
Now, let’s dress the bed. Cut a small square of patterned fabric to serve as your duvet or blanket. Fold the top edge over slightly to make it look inviting. For the pillows, you can sew tiny little pouches and stuff them with cotton batting. Alternatively, if you don’t like sewing, you can form small rectangles out of air-dry clay or use soft clay beads, wrap them in fabric, and glue them down. Place your pillows at the head of the bed, and suddenly, you have a cozy sleeping space!
Add Walls & Flooring
Right now, you probably have a sturdy, but rather plain-looking, brown cardboard box. It is time to add some personality! Adding walls and flooring is what transforms a simple craft project into stunning tiny home decor.
Let’s start with the walls. You have a few great options here. The simplest method is to use acrylic paints. Choose a calming color, like a soft pastel blue or a warm beige, and give your cardboard walls two solid coats of paint. Make sure the first coat dries completely before applying the second to prevent the cardboard from warping.
If you want something fancier than paint, you can create miniature wallpaper. You can use standard scrapbooking paper, which comes in thousands of beautiful patterns. Measure your walls, cut the paper to fit, and use a thin layer of glue stick (not hot glue, which will make it bumpy) to smooth it onto the cardboard.
For the floors, you want something that looks realistic. You can find free printable textures online that look exactly like hardwood floors or marble tiles. Print one of these out, cut it to the size of your floor base, and glue it down.
Another incredible trick for a wood-look floor is to use wooden coffee stirrers. Cut the rounded ends off the stirrers, and glue them down one by one, side by side, across your floor. Once they are all glued down, you can brush a little brown shoe polish or watered-down brown paint over them to act as a wood stain. The result is a breathtaking, realistic miniature hardwood floor!
Furnish with DIY Pieces
Your room is painted, and your bed is made. Now, we need to fill the remaining space with functional, adorable furniture. This is where your creativity can really run wild. Look around your house for everyday items that can be repurposed. You will be amazed at what you can create with trash!
Do you want a tiny desk for your room? Grab a small matchbox. Cover the matchbox in nice paper or paint it. Then, use four thick matchsticks or toothpicks as the legs. Glue them to the bottom, and you have a perfect tiny desk. You can even cut small squares of paper to look like miniature books or a tiny laptop to sit on top.
How about a chair to go with that desk? You can easily craft a stylish wire chair using simple craft wire. Bend the wire into a square for the seat, add four legs, and fashion a curved backrest. It gives the room a very trendy, industrial feel.
You also need storage. Creating shelves is as easy as stacking popsicle sticks. Cut three short pieces of popsicle sticks. Glue them horizontally to your painted walls, spacing them an inch apart. Now you have floating shelves! You can decorate these shelves with tiny beads (which look like miniature vases) or small snips of artificial plants to bring some green life into the room.
Remember, the goal is not perfection; the goal is character. Every slightly crooked table leg or painted shelf adds charm to your DIY mini bedroom.
Lighting & Details
We have reached the final step, arguably the most important one. Lighting and fine details are what elevate your project from a basic craft to a magical, realistic diorama.
To bring light into your tiny room, grab a short string of battery-operated fairy lights (mini LED lights). You can poke a tiny hole in the ceiling or the top corner of your cardboard wall. Feed the lights through the hole, letting them drape across the ceiling or wrap around the bed frame. Hide the battery pack securely on the outside, back of your box, using a piece of tape. When you turn those lights on in a dark room, the warm glow is absolutely enchanting.
Now, let’s add the final cozy touches. Do you have a window in your room? Make some mini curtains. Cut two small rectangles of sheer fabric, bunch them up slightly at the top, and glue them above the window frame.
The floor might look bare, so let’s make a rug. You can cut a circle out of a piece of felt, or if you want to get creative, take some thick, fluffy yarn. Coil the yarn around itself in a tight spiral, gluing it as you go, until you have a beautiful, braided-looking circular rug. Place it right at the foot of your tiny bed.
Add a few more tiny details—maybe a miniature painting printed online and glued to the wall, or a tiny mirror made from a piece of shiny aluminum foil. Step back and admire your work. You have officially learned how to make a mini bedroom!
Design Ideas & Themes
One of the greatest joys of exploring mini bedroom ideas is that you are the master interior designer. You don’t have to worry about the cost of a real velvet sofa or expensive hardwood floors. You can change the entire aesthetic of your room with just a few dollars’ worth of paint and fabric.
If you are feeling stuck on how to style your space, here are five highly popular themes to inspire your next build.
The Boho Mini Bedroom. The Bohemian style is all about relaxed, natural, and earthy vibes. To achieve this look, paint your walls a warm, creamy off-white. Use lots of bare, unstained wood for your bed frame and shelves. The key to a Boho room is texture. Use a tiny piece of real macrame (or braid your own thin thread) to hang on the wall. Add plenty of miniature artificial plants in tiny clay terracotta pots. Use warm colors like mustard yellow and rust orange for your bedsheets.
The Modern Minimalist Retreat If you prefer clean lines and a sleek aesthetic, the modern theme is for you. Keep your color palette incredibly simple: stark whites, deep blacks, and maybe a pop of metallic gold or silver. Build your furniture with very straight, sharp edges. Instead of a fluffy rug, use a simple geometric pattern for the floor. Less is more here. Keep the space highly organized and avoid cluttering the tiny shelves.
The Kids’ Dream Dollhouse. If you are building this for (or with) a child, make it whimsical and fun! Use bright pastel colors like bubblegum pink, mint green, or sky blue for the walls. You can use colorful stickers as wall decals. Create tiny toys to scatter on the floor out of small beads or polymer clay. A fun hack is to make a tiny tent or “fort” in the corner of the room using three wooden skewers and a scrap of fun, patterned fabric.
The Cozy Cabin: Bring the rustic outdoors inside with a cabin theme. This theme relies heavily on wood textures. Use the coffee-stirrer trick mentioned earlier on both floors and walls to create a log-cabin feel. Use dark, rich colors like forest green and deep burgundy for the bedding. You can even build a tiny faux fireplace out of small pebbles gathered from your driveway, and place a tiny, warm-toned LED light inside to look like a crackling fire.
The Vintage Victorian. For those who love classic elegance, try a vintage theme. Use scrapbooking paper with elegant, dark floral patterns for wallpaper. Paint your popsicle-stick furniture in rich, dark brown to mimic mahogany. You can find tiny, ornate metal charms in the jewelry section of a craft store and glue them to the walls to look like fancy antique mirrors or picture frames.
Whichever theme you choose, remember to have fun with it. Mix and match elements until you find a style that makes you smile!
Common Mistakes to Avoid
Even though learning how to make a mini bedroom is a simple and forgiving process, there are a few common pitfalls that can frustrate beginners. To ensure your project goes off without a hitch, keep an eye out for these frequent mistakes.
- Building Weak Structures: This is the most common issue. Flimsy paper or thin cereal boxes will warp when wet paint or glue is applied. Always use sturdy, corrugated cardboard or foam board. Pro tip: If you only have thin cardboard, glue two layers together (double-layering) before cutting your walls. It makes a world of difference!
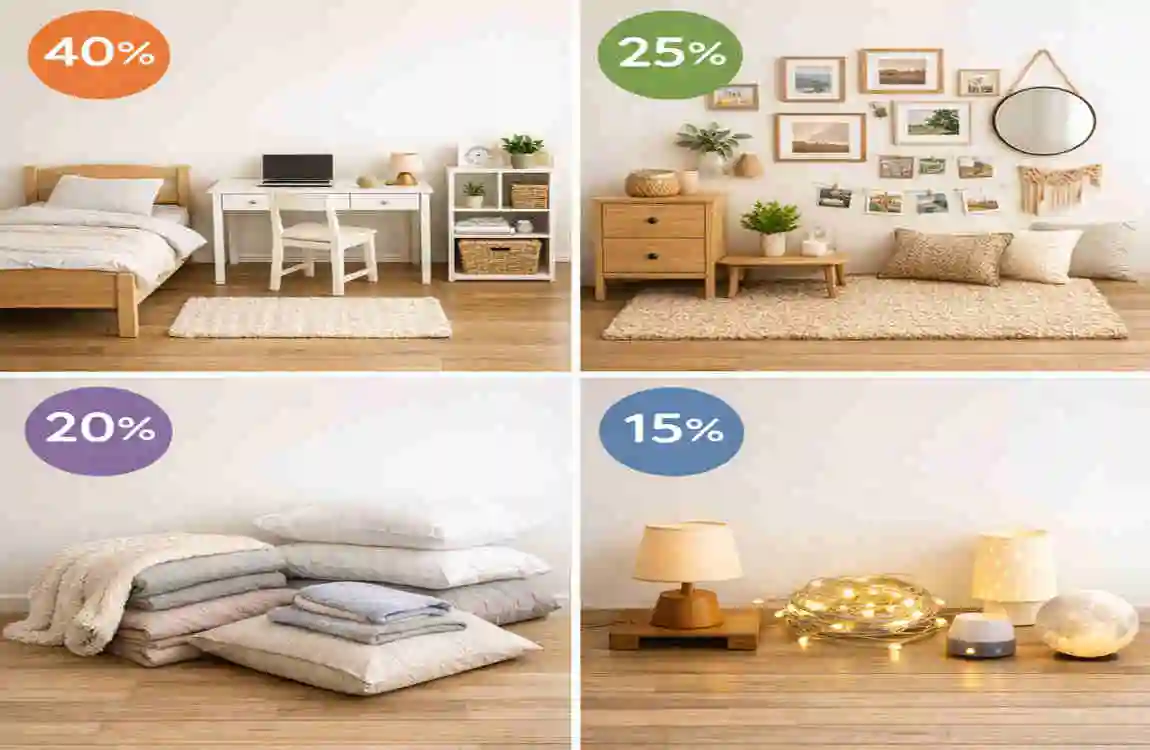
- Overcrowding the Room: Because miniature furniture is so cute, it is incredibly tempting to pack the room full of desks, chairs, plants, and dressers. But just like a real bedroom, a tiny room needs breathing space to look good. Follow the interior design rule of thumb: try to keep at least 60% of the floor space open. It makes the room look much larger and more realistic.
- Poor Scaling: We mentioned the 1:12 scale earlier, and ignoring it is a big mistake. If your bed is built for a tiny doll, but your coffee cup on the desk is the size of a doll’s head, the illusion breaks. Always measure twice before you cut. Keep a standard ruler handy and compare the sizes of your items regularly.
- Using the Wrong Glue: A common mistake is trying to assemble the heavy cardboard frame with a basic school glue stick. It will fall apart. Always use hot glue or a strong PVA tacky glue for structural joints, and save the glue sticks for applying wallpaper or fabric.
By keeping these simple tips in mind, you will save yourself a lot of headaches and ensure your tiny room lasts!
Budget Breakdown & Variations
As we promised at the beginning of this guide, this project is designed to be gentle on your wallet. Whether you are in a high-rise apartment in the city or a cozy house in the suburbs, you can pull this off on a shoestring budget.
Let’s look at a detailed breakdown of what you might expect to spend, keeping our friends in Lahore in mind with PKR estimates.
Expense Category, Estimated Cost (PKR), How to Save / Alternatives
Core Materials 2000: Use free scraps, old boxes, and torn clothes.
Tools & Glue 1000 Borrow tools from a neighbor or friend.
Decor/Lights 0 – 500 Skip the lights or use natural sunlight near a window.
Total ~3000 can. easily be done for under 1000 PKR!
Scale Variations: Dollhouse vs. Real Life
It is important to note that while this guide focuses heavily on the craft of building a 1:12-scale dollhouse room, the same principles apply to maximizing a real-life mini-room (human scale).
If you live in a tiny apartment and are trying to figure out how to fit a bed into a 6×6 foot alcove, you still need to plan your layout (Step 1), establish your frame and boundaries (Step 2), find a compact mattress (Step 3), and use light colors on the walls to make it feel bigger (Step 4). Building the miniature model first is the ultimate way to visualize your real-world budget and space constraints!
Frequently Asked Questions (FAQ)
What is the best scale for a mini bedroom? The most popular and realistic scale for miniature rooms and dollhouses is 1:12. This means that 1 inch in your model equals 1 foot in real life.
Can I make a mini bedroom without hot glue? Yes! While hot glue is the fastest, you can use strong PVA tacky glue or wood glue. You will need to hold the pieces together longer or use tape to secure them while they dry for a few hours.
How do I make mini bedroom furniture for free? Upcycle! Use matchboxes for dressers, bottle caps for tiny tables, toothpaste caps for plant pots, and old cloth scraps for rugs and bedding. You do not need to buy expensive kits to create stunning furniture.