
Rubber roofing is popular for residential properties, offering flexibility, durability, and excellent weather resistance. However, even the best roofing materials need regular care to maintain their performance, and sealing plays a critical role in ensuring their longevity.
What Is a Rubber House Roof?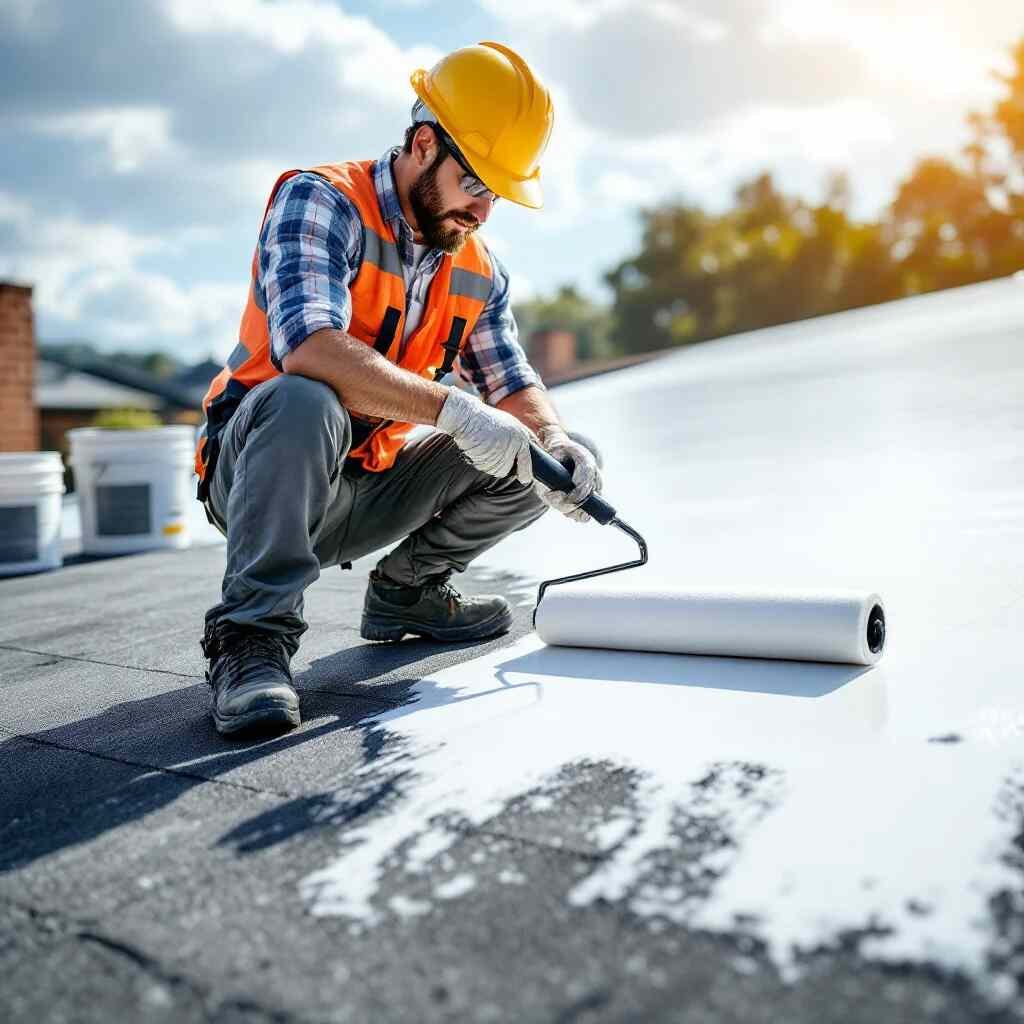
Rubber house roofs, commonly made from materials like EPDM (Ethylene Propylene Diene Monomer) or TPO (Thermoplastic Polyolefin), are a modern solution for residential and commercial properties. These roofing systems are designed to be durable, long-lasting, and eco-friendly.
Types of Rubber Roofing
- EPDM Roofs: Known for their flexibility and resistance to extreme weather conditions.
- TPO Roofs: A more modern option offering excellent heat resistance and energy efficiency.
Key Advantages of Rubber Roofing
- Durability: Rubber roofs can last up to 50 years with proper maintenance.
- Flexibility: Perfect for homes in areas with extreme temperature fluctuations.
- Weather Resistance: Designed to withstand UV rays, rain, snow, and wind.
- Eco-Friendly: Many rubber roofs are made from recycled materials and are recyclable at the end of their lifespan.
However, despite these benefits, rubber roofs are not invincible. Without proper maintenance, they can become vulnerable to leaks, cracking, and other issues over time—this is where sealing comes in.
The Role of Sealing in Rubber Roof Longevity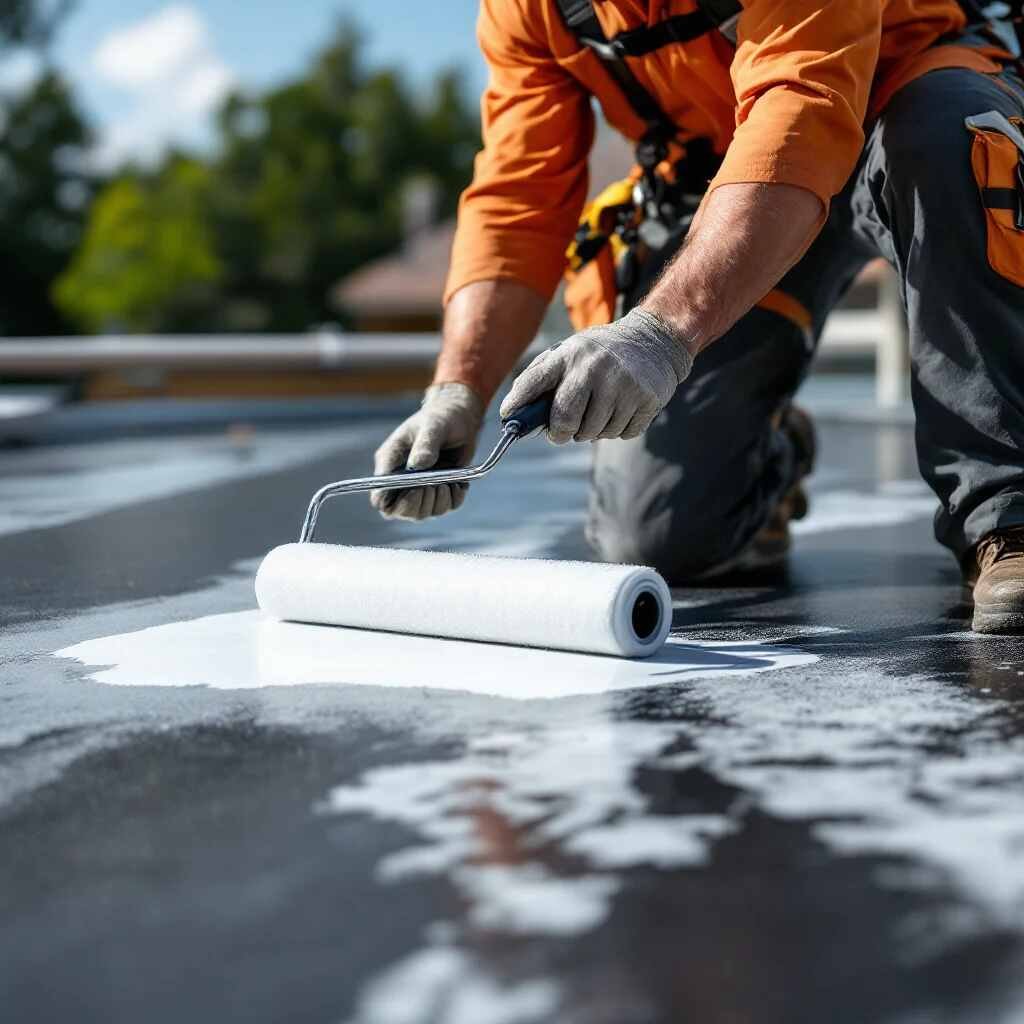
Sealing a rubber roof involves applying a protective layer over its surface to enhance its durability and resistance to external elements. This process is essential for maintaining the roof’s integrity and ensuring it performs well throughout its lifespan.
You may also read (when my house roof)
How Sealing Protects Your Roof
- Prevents Water Infiltration: Rubber roofs are highly waterproof, but seams and edges can weaken over time. Sealing ensures these areas remain watertight.
- Shields Against UV Rays: Prolonged exposure to sunlight can degrade the rubber material, leading to cracking and fading. Sealants act as a sunscreen for your roof.
- Guards Against Pollutants: Environmental pollutants like dirt, debris, and chemicals can degrade the rubber. Sealing provides a barrier against these contaminants.
- Reduces Leaks: By reinforcing vulnerable areas, a sealant minimizes the risk of leaks, saving you from costly repairs.
Sealing your rubber roof extends its lifespan and helps maintain its aesthetic appeal, energy efficiency, and structural integrity.
Why Do Rubber House Roofs Need to Be Sealed?
While rubber roofs are strong and resilient, they are not immune to natural wear and tear. Let’s break down the specific threats to unsealed rubber roofs and how sealing helps to mitigate them.
Threats to Unsealed Rubber Roofs
Water Damage and Leaks
Over time, even the tiniest cracks or seams can let water seep through, leading to leaks. Water infiltration can cause damage to the underlying structure, resulting in costly repairs and even mold growth inside your home.
UV Radiation
Constant exposure to the sun’s UV rays can cause the rubber material to dry out, fade, and crack. This weakens its structural integrity and makes it more prone to damage.
Mold, Algae, and Rot
Moisture trapped on the roof can lead to mold or algae growth. This not only affects the roof’s appearance but also compromises its durability. In severe cases, it can rot the roof’s supporting structures.
Thermal Expansion and Contraction
Rubber roofing expands and contracts with temperature changes. This natural movement can create small gaps and openings, which can worsen without proper sealing.
How Sealing Prevents These Issues
Sealing acts as a protective barrier, addressing all these vulnerabilities. A properly sealed roof will:
- Block water infiltration, keeping the roof watertight.
- Reflect UV rays, preventing cracking and fading.
- Inhibit mold and algae growth, keeping the roof clean and healthy.
- Reinforce flexibility, allowing the roof to handle temperature changes without damage.
With sealing, homeowners can enjoy reduced repair costs, a longer roof lifespan, and even improved energy efficiency by reflecting sunlight and reducing heat absorption.
Signs Your Rubber Roof Needs Sealing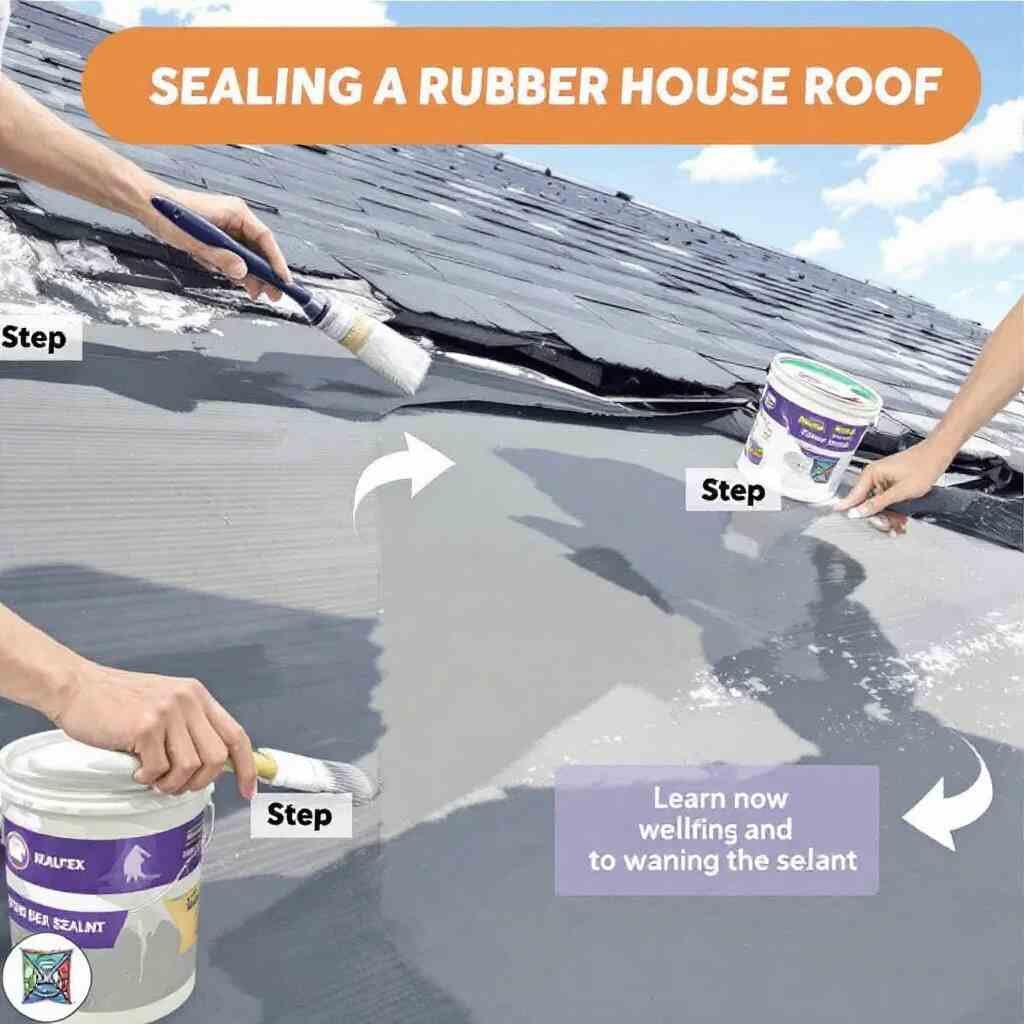
Wondering if it’s time to seal your rubber roof? Here are some common indicators:
Visible Cracks or Splits
Inspect the surface for any cracks, splits, or gaps in the material. These are signs that the roof’s protective barrier is breaking down.
Ponding Water or Leaks
Water pooling on your roof or signs of leaks inside your home are red flags that your roof needs sealing.
Fading or Chalking Surface
If the roof appears faded or develops a chalky residue, it’s likely due to UV damage. Sealing can restore its appearance and protection.
Increased Energy Bills
A poorly sealed roof can allow more heat to enter your home, making your HVAC system work harder. If your energy bills rise, it might be time to reseal the roof.
Regular roof inspections, at least twice a year, can help you catch these issues early and take proactive measures.
How to Seal a Rubber House Roof: Step-by-Step Guide
If you’re ready to tackle the task yourself, here’s a detailed guide on how to seal a rubber house roof.
Gather Materials and Tools
You’ll need:
- Rubber roof sealant (compatible with your roof type)
- Rollers or brushes
- Cleaning supplies (e.g., mild detergent, scrub brush)
- Safety equipment (gloves, goggles, non-slip shoes)
Inspect and Clean the Roof
- Remove debris, dirt, and mold from the roof’s surface.
- Check for any tears, punctures, or weak spots and repair them before applying the sealant.
Choose the Right Sealant
- Acrylic Sealants: Affordable and easy to apply but less durable.
- Silicone Sealants: Highly durable and weather-resistant, ideal for long-term use.
- Butyl Sealants: Excellent adhesion and elasticity, perfect for extreme weather conditions.
Ensure the sealant is compatible with your roof material and offers UV protection.
Application Process
- Ensure the roof is completely dry.
- Apply the first coat evenly using a roller or brush.
- Allow the first coat to dry completely before applying additional layers.
- Apply 2-3 coats for maximum protection.
Curing and Final Checks
- Follow the manufacturer’s recommendations for curing time.
- Inspect the roof to ensure the sealant is evenly applied and fully cured.
Maintenance Tips After Sealing
To keep your sealed rubber roof in top condition:
- Inspect it regularly: Check for signs of wear and tear at least twice a year.
- Clean the surface: Remove dirt, debris, and mold to prevent damage.
- Reapply sealant: Depending on the product and climate, this may be needed every 5-10 years.
Common Mistakes to Avoid When Sealing a Rubber Roof
- Skipping surface preparation can lead to poor adhesion.
- Using incompatible or low-quality sealants.
- Ignoring manufacturer instructions for drying and curing times.
- Applying sealant during poor weather conditions, such as rain or extreme heat.
Professional vs. DIY: Should You Seal Your Rubber Roof Yourself?
DIY Sealing
- Pros: Cost-effective and rewarding for experienced homeowners.
- Cons: Time-consuming, risk of mistakes without proper knowledge.
Hiring a Professional
- Pros: Ensures high-quality, long-lasting results with less effort.
- Cons: Higher upfront cost.
You may also read (how does whit roof painting)