
Roofing is one of the most critical aspects of home protection, yet it often goes unnoticed until problems arise. As homeowners, ensuring your roof can withstand the harshest weather conditions is essential to safeguarding not only the structure of your house but also the safety and comfort of your family.
One of the most overlooked yet crucial components of a roof is the ice and water shield. This waterproofing layer is a game-changer for homeowners living in climates prone to snow, ice, or heavy rainfall. But how can you tell if a house roof has an ice and water shield installed?
Understanding Ice and Water Shield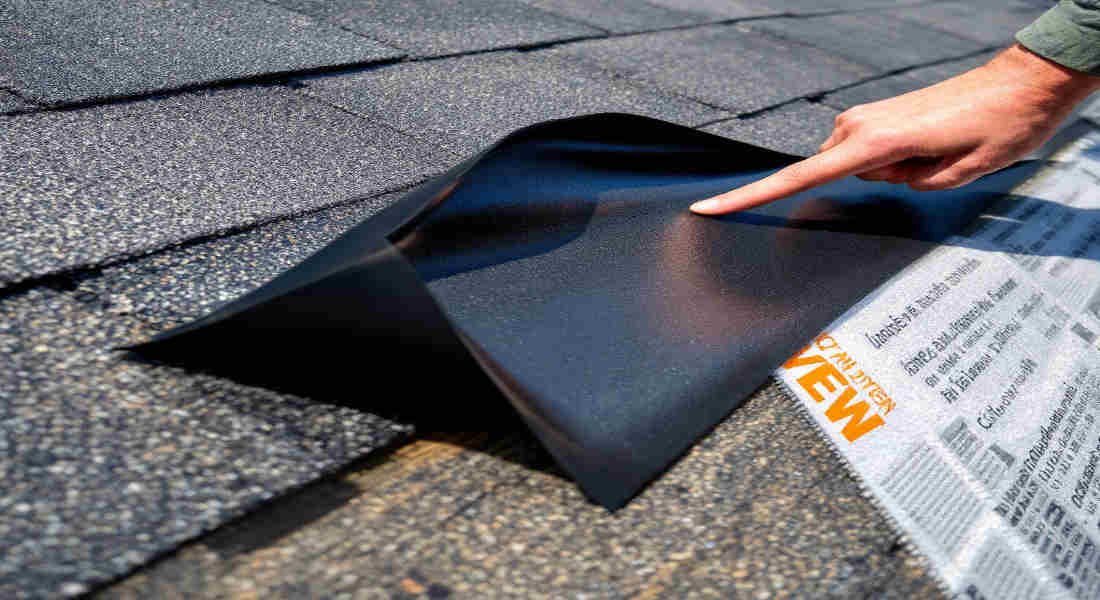
What Is Ice and Water Shield?
An ice and water shield is a self-adhering, waterproof membrane specifically designed to protect your roof from leaks caused by ice dams and heavy rain. Unlike standard roofing underlayment, which primarily serves as a secondary barrier, ice and water shields are engineered to create a watertight seal, preventing water from seeping beneath your roof’s Surface.
Materials Used:
The shield is typically made of durable, water-resistant materials such as:
- Rubberized asphalt
- Polyethylene film
- Polymer-modified bitumen
These materials offer flexibility, adhesion, and long-term performance, making them ideal for protecting vulnerable areas of your roof.
How It Differs from Standard Underlayment:
While standard underlayment provides general protection, it is not designed to stop water from infiltrating your roof during extreme weather. Ice and water shields, on the other hand, are specially designed for high-risk areas like valleys, edges, and around chimneys or skylights.
The Purpose and Benefits
Why should homeowners care about ice and water shields? Here are some of the top benefits:
- Leak Prevention: Ice and water shields act as a barrier to protect your home from leaks caused by melting snow, ice dams, and wind-driven rain.
- Extended Roof Lifespan: By preventing water damage, this shield extends the longevity of your roof and reduces the likelihood of expensive repairs.
- Added Insulation: It can improve your home’s energy efficiency by sealing off areas where air might escape.
- Peace of Mind: Homeowners in regions with harsh winters or frequent storms can rest easy knowing their roofs are reinforced against the elements.
Where and How Ice and Water Shield Is Installed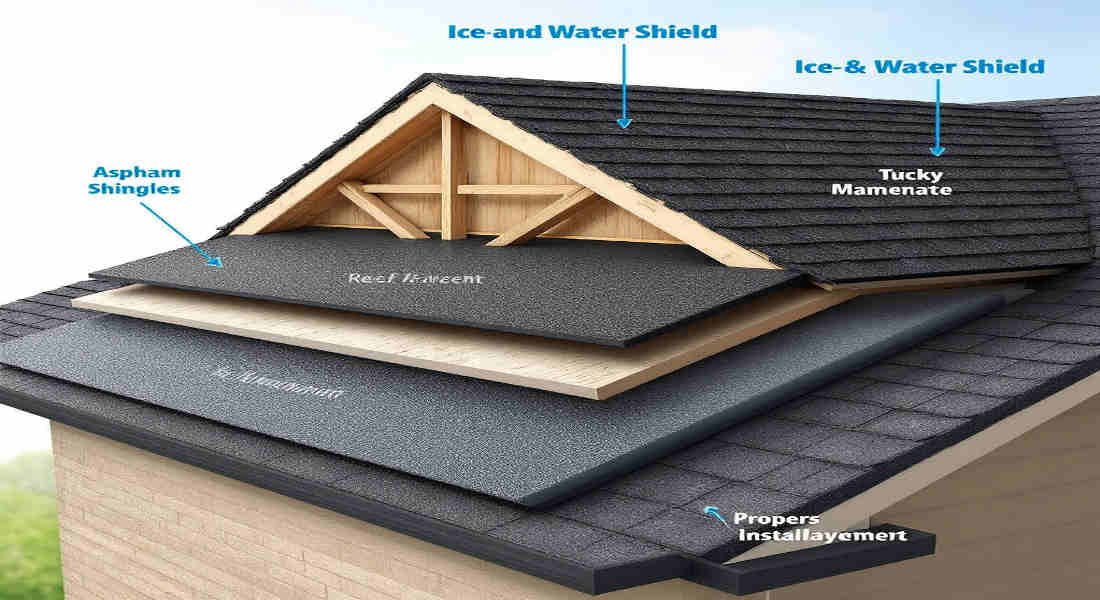
Key Areas of Installation
Ice and water shields are strategically installed in specific areas of a roof that are most vulnerable to leaks. These include:
You may also read (effective stone home roofing).
- Eaves: To prevent water from seeping into the roof edge during ice dam formation.
- Valleys: Where two roof slopes meet, creating a natural channel for water flow.
- Roof Edges: Particularly in low-slope areas where water tends to accumulate.
- Around Penetrations: These include chimneys, skylights, and vent pipes, where water can easily seep through gaps.
By targeting these areas, the shield provides comprehensive protection against water intrusion.
Types of Ice and Water Shield
There are three main types of ice and water shields, each suited for different roofing needs:
TypeDescriptionBest Used For
Granular Surface Features a sand-like texture and is the most affordable option. Roof valleys and general use.
Smooth Surface Offers flexibility for detailed areas, like low slopes or irregular designs. Low-sloped or intricate roof designs.
High Heat Made with a cotton-like backing to resist high temperatures, it is ideal for metal roofs. Metal roofs and areas with extreme Heat.
Professional Installation Process
Proper installation is key to getting the most out of an ice and water shield. Here’s an overview of the process:
- Surface Preparation: The roof deck is cleaned and prepped to ensure the shield adheres properly.
- Application: The shield is rolled out and pressed firmly onto the roof, overlapping each section to create a seamless barrier.
- Sealing Edges: Special attention is given to edges and penetrations to ensure no gaps are left.
Common Mistakes to Avoid:
- Skipping critical areas like valleys or roof edges.
- Failing to overlap sections can leave gaps for water to seep through.
- Using the wrong type of shield for the roof’s material or slope.
How to Tell If a House Roof Has Ice and Water Shield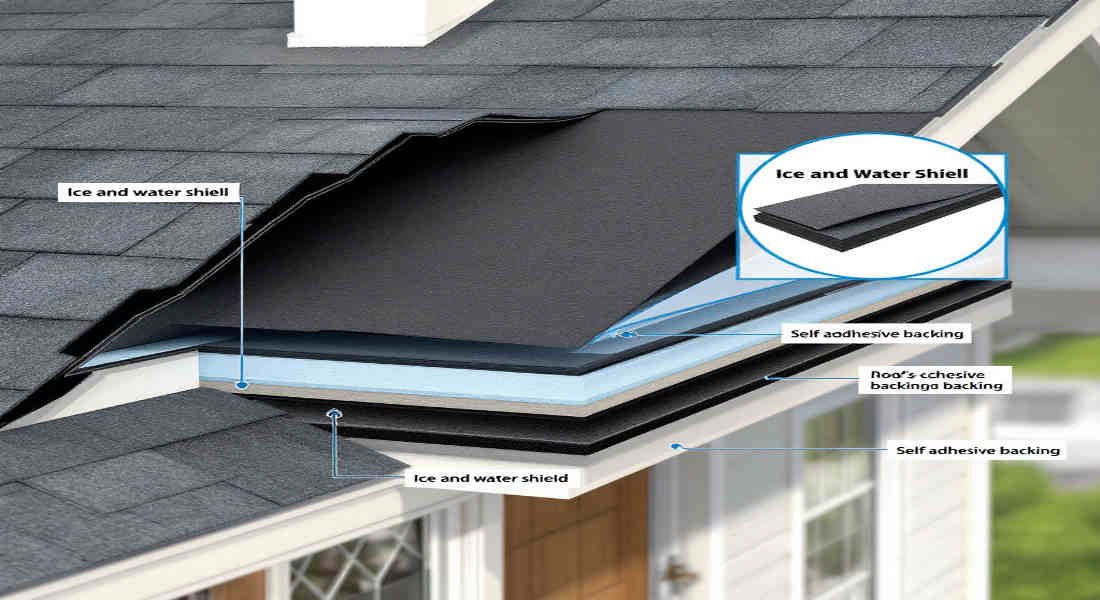
Visual Inspection Methods
If you’re wondering whether your roof has an ice and water shield, here are a few ways to check:
You may also read (discover the charm of a home cupola roof).
- Inspect the Attic or Roof Deck: Look for a rubbery membrane visible at the eaves or valleys.
- Check During Repairs: If shingles are removed for repairs, see if you can spot a sticky waterproof layer underneath.
Signs from the Exterior
From the outside, you can look for:
- Exposed Edges: If shingles are missing or damaged, you might see the edges of the shield.
- Adhesive Residue: A sticky, rubbery layer left behind after shingle removal is a clear indicator.
Asking for Documentation
When in doubt, ask for records:
- Installation Photos: Previous contractors or homeowners may have pictures of the roof installation.
- Receipts or Contracts: Check for mentions of ice and water shields in the paperwork.
- Home Inspection Reports: These may note the presence of an ice and water shield.
Consulting a Professional
If you’re still unsure, hire a roofing contractor to perform an inspection. Professionals can:
- Identify whether an ice and water shield is present.
- Check for proper installation and any signs of wear or failure.
Common Myths and Misconceptions
It’s important to note that not all roofs come with an ice and water shield by default. Some contractors skip this step to save costs, which can leave your home vulnerable to weather damage.
Why Ice and Water Shield Is Essential for Home Protection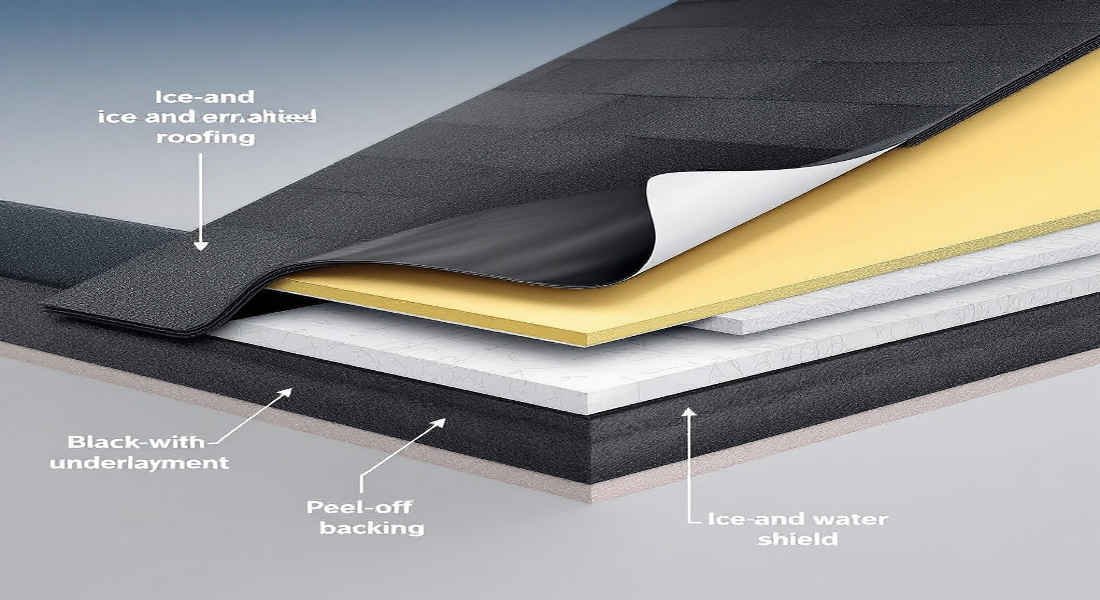
Ice Dam Prevention
Ice dams occur when melting snow refreezes at the roof’s edge, causing water to back up under the shingles. An ice and water shield prevents this water from penetrating your roof, protecting your home from leaks.
Defense Against Wind-Driven Rain
Heavy storms can lift shingles or drive rain sideways into your roof. The waterproof membrane ensures that even if shingles are compromised, your home remains protected.
Long-Term Savings and Value
By preventing water damage, an ice and water shield reduces maintenance costs, extends the life of your roof, and adds value to your home.
Choosing the Right Ice and Water Shield for Your Home
Factors to Consider
When selecting an ice and water shield, consider the following:
- Climate: Choose a product suited for extreme cold, heavy rain, or high Heat, depending on your location.
- Roof Design: Ensure compatibility with your roof’s slope and material.
- Budget: Balance affordability with quality and warranty coverage.
Working with Qualified Contractors
To ensure proper installation, hire contractors with experience in applying ice and water shields. Ask questions like:
- What type of ice and water shield do you recommend for my roof?
- Can you provide references or photos of past installations?
You may also read (roof rule on florida homeowners).