Moss growth on roofs is a common problem homeowners face, yet it often goes unnoticed until it becomes significant. While moss might look harmless or add a touch of “cottage charm,” it can cause severe damage to your roof if left unchecked.
Understanding Moss Growth on Roofs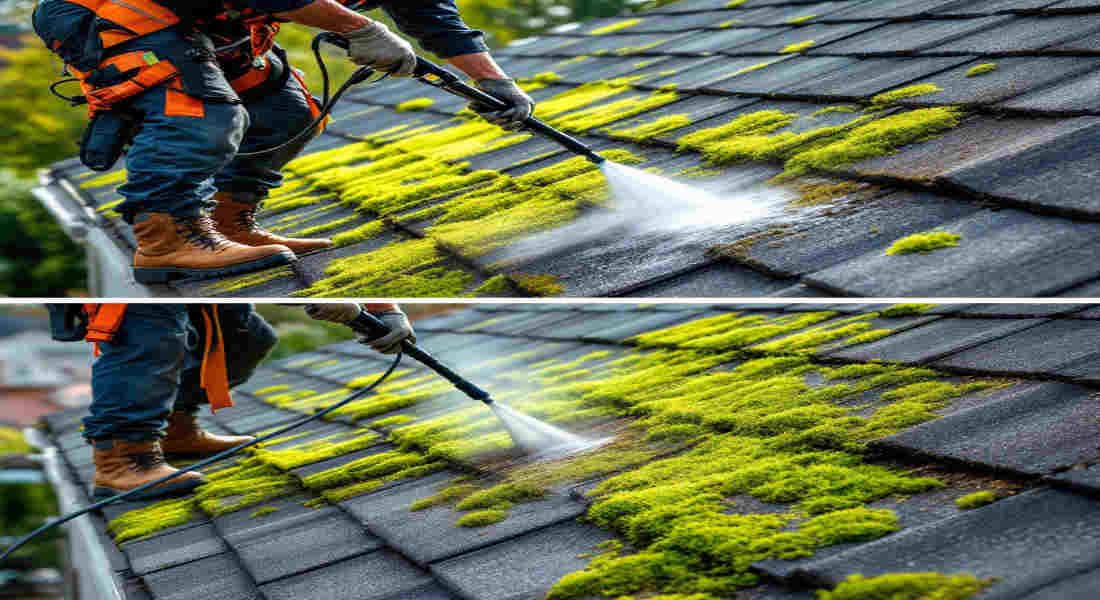
To effectively tackle moss on your house roof, it’s essential to understand why it grows and the potential harm it can cause.
What Is Moss and Why Does It Grow on Roofs?
Moss is a non-vascular plant that thrives in damp, shaded, and cool conditions. Roofs, especially those in areas with heavy tree coverage or high humidity, make an ideal environment for moss to grow. Here’s why:
- Shade: Overhanging trees block sunlight, creating a damp environment where moss thrives.
- Moisture: Rain, snow, and high humidity provide the water moss needs to survive.
- Debris Accumulation: Leaves, dirt, and other debris trap moisture on the roof, promoting moss growth.
- Poor drainage: Clogged gutters and improper water drainage create wet spots, which are ideal for moss.
Why Is Moss on Roofs a Concern?
Moss might seem harmless initially, but it can lead to serious problems if not addressed. Here’s what moss can do to your roof:
- Damage to Shingles: Moss can lift shingles, exposing the roof to water damage and leaks.
- Moisture Retention: Moss holds water, which can seep into the roof structure and cause rot or mold.
- Shortened Roof Lifespan: Over time, moss weakens shingles, reducing the overall lifespan of your roof.
- Increased Energy Costs: A moss-covered roof may lose some of its reflective properties, making your home less energy-efficient.
By understanding these risks, it’s clear why removing moss promptly and safely is so important.
Safety First: Preparing for Moss Removal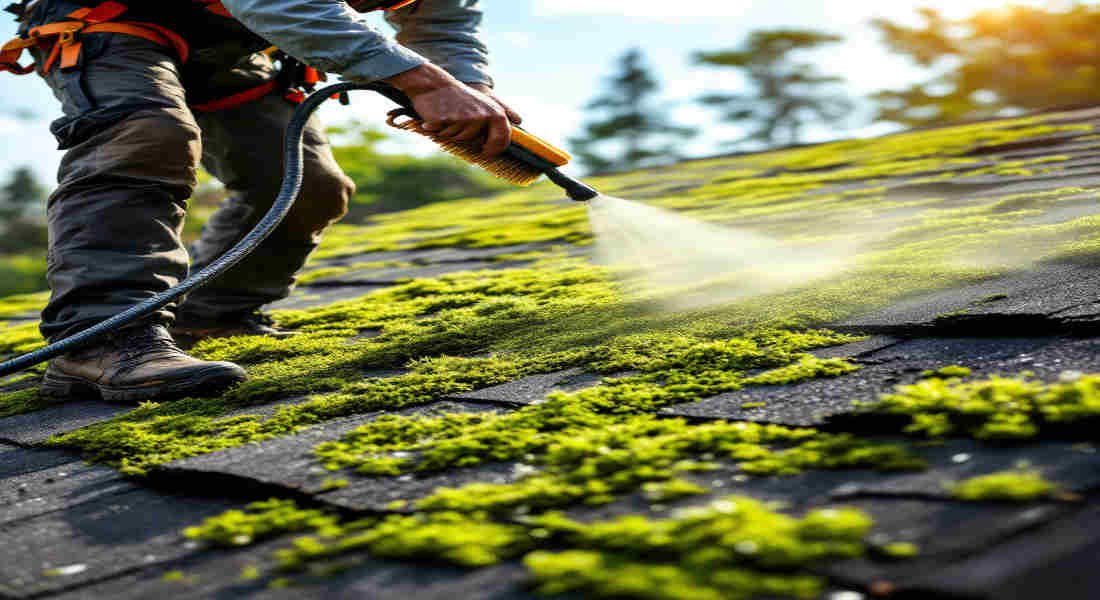
Before jumping into moss removal, safety should be your top priority. Working on a roof can be hazardous, so proper preparation and precautions are essential.
You may also read (durable house roof coatings).
Essential Safety Equipment
Here’s a list of safety gear you’ll need:
- Sturdy Ladder: Use a ladder with a stabilizer and ensure it’s placed on level ground.
- Safety Harness: A harness with a secure anchor point can prevent falls.
- Non-Slip Shoes: Wear rubber-soled shoes or boots for better traction.
- Gloves and Eye Protection: Protect your hands from sharp debris and your eyes from cleaning solutions.
Safety Tips for Working on a Roof
- Always inspect the roof’s condition before stepping on it. If it’s slippery or weak, avoid walking on it.
- Work with a buddy who can hold the ladder and assist in emergencies.
- Avoid working on the roof in wet or windy conditions.
- Clear the surrounding area to prevent injuries to pets or children.
Taking these precautions ensures you stay safe while removing moss from your roof.
Tools and Materials Needed for Moss Removal
To remove moss effectively, you’ll need the right tools and materials. Using improper equipment can damage your roof and make the problem worse.
Tools You’ll Need
- Garden Hose: This is used to wet the moss and rinse the roof.
- Soft-Bristled Brush or Broom: Ideal for scrubbing without damaging shingles.
- Spray Bottle: Useful for applying moss removal solutions to specific areas.
- Moss Removal Solution: Choose between commercial products or DIY options.
Choosing the Right Moss Removal Solution
There are two main options for moss removal solutions:
- Commercial Moss Killers: These are specifically designed for roof moss removal. Look for eco-friendly products that won’t harm nearby plants or pets.
- DIY Solutions: A mixture of vinegar, warm water, and dish soap can be an effective homemade alternative.
Avoid using pressure washers or wire brushes—these can damage shingles and cause more harm than good.
Step-by-Step Guide: What Is the Best to Remove Moss from a House Roof?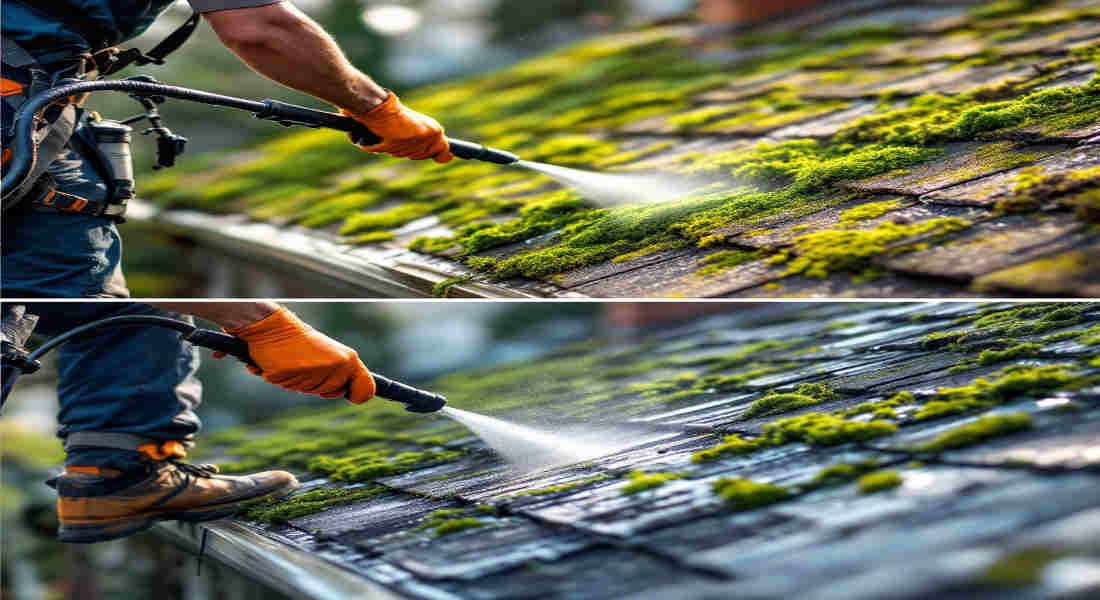
Now, let’s get into the step-by-step process of safely and effectively removing moss from your roof.
You may also read (stone home roofing solutions).
Wet the Moss
Start by soaking the mossy areas with a garden hose. This makes the moss easier to remove and prevents spores from spreading during removal.
- Avoid using high-pressure water, which can damage shingles.
- Work in sections to ensure thorough wetting.
Apply Moss Removal Solution
Next, apply your chosen moss removal solution to the affected areas. Here’s how:
- Commercial Products: Follow the manufacturer’s instructions for application and safety precautions.
- DIY Recipe: Mix one part vinegar with two parts warm water, add a few drops of dish soap, and pour it into a spray bottle.
Let the solution sit for 15-20 minutes (or longer if recommended) to allow it to penetrate the moss.
Gently Scrub the Moss
Using a soft-bristled brush, gently scrub the moss toward the shingles. Scrubbing too hard or against the grain can strip shingles of their protective granules.
- Reapply the solution and repeat the process for stubborn moss.
- Focus on small sections to avoid missing areas.
Rinse and Clean Up
Once the moss is removed, rinse the roof thoroughly with water to remove any residue. Work from the top of the roof to prevent water from seeping under shingles.
- Clear any moss debris from gutters to prevent blockages.
- Collect moss and debris to avoid spreading it to other areas of your yard.
Inspect and Repeat if Needed
After cleaning, inspect the roof for any remaining moss. If needed, reapply the solution and repeat the process. Patience is key to achieving a completely moss-free roof.
Preventing Moss from Returning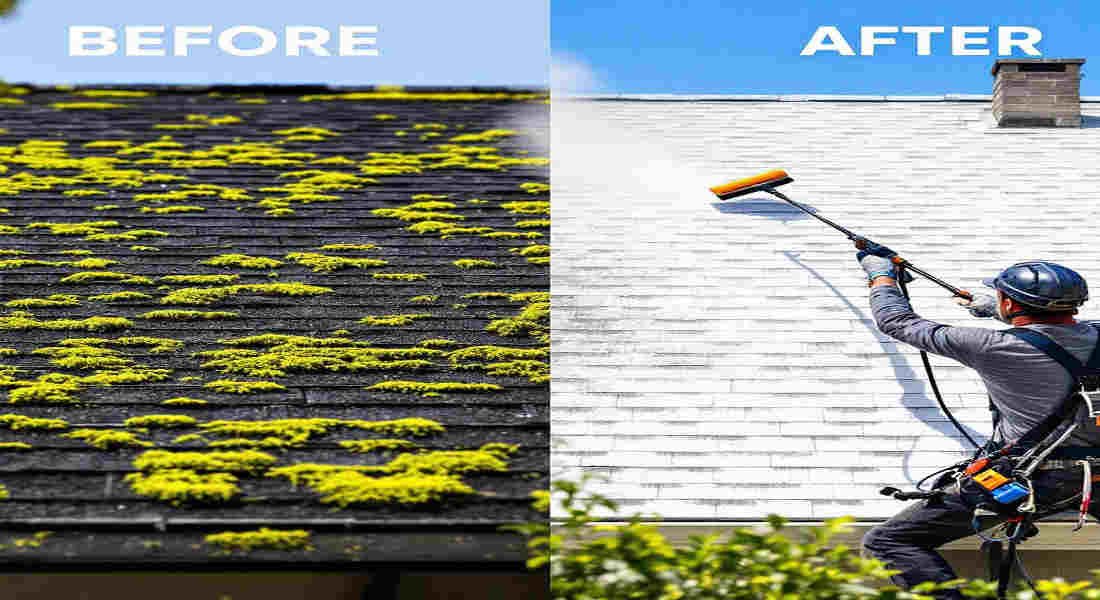
Removing moss is one thing, but preventing it from returning is equally important. Here’s how you can keep your roof moss-free:
Tips for Long-Term Moss Prevention
- Trim Overhanging Branches: Increase sunlight exposure by cutting back trees around your roof.
- Maintain Gutters: Clean gutters regularly to prevent water buildup.
- Install Zinc or Copper Strips: These metals naturally inhibit moss growth when rainwater washes over them.
- Regular Roof Inspections: Check your roof seasonally for signs of moss or damage.
Seasonal Maintenance Checklist
TaskFrequency
Clean gutters every 3 months
Inspect the roof for moss. Every 6 months
Trim overhanging branches annually
Apply preventative strips annually
Being proactive with maintenance can save you time and money in the long run.
When to Call a Professional
While DIY moss removal is manageable for many homeowners, some require professional help.
When Should You Hire a Professional?
- If the roof is steep or challenging to access.
- If moss covers a large portion of the roof.
- If you notice significant damage, such as missing shingles or leaks.
Benefits of Hiring Professionals: They have the tools and expertise to remove moss safely and inspect for any underlying issues.
You may also read (discover the charm of a home cupola roof).