Flat roofs are a popular choice for homes due to their sleek design and cost-effectiveness. However, they come with their own set of challenges, and leaks are one of the most common issues homeowners face. A tiny leak in your flat roof might seem harmless at first, but over time, it can lead to serious damage, including mold growth, structural weakening, and expensive repairs.
Understanding Flat Roof Leaks
Flat roofs are designed to provide durability and longevity, but they are not immune to wear and tear. Understanding the causes of flat roof leaks can help you identify and address problems before they escalate.
What Causes Leaks on Flat Roofs?
There are several reasons why flat roofs may develop leaks:
- Poor Installation: If the roof wasn’t installed correctly, gaps and weak spots can form, making it prone to leaks.
- Aging and Weathering Materials: Over time, materials degrade due to exposure to UV rays, rain, and extreme temperatures.
- Ponding Water: Flat roofs don’t drain water as effectively as sloped roofs. Water can collect in certain areas, leading to the deterioration of the roofing material.
- Damage from Debris or Fixtures: Falling branches, heavy debris, or poorly sealed vents and chimneys can compromise the roof’s integrity.
Signs of a Flat Roof Leak
It’s essential to catch leaks early to minimize damage. Here are common signs to watch for:
- Water stains on ceilings or walls.
- Bubbling or blistering of the roof membrane.
- Damp spots or areas with visible moisture.
- Peeling paint or wallpaper inside your home, especially near the ceilings.
Why Early Detection Matters
Ignoring small leaks can lead to major problems like mold growth, structural damage, and costly repairs. Regular inspections and swift action are your best defense.
Tools and Materials Needed for DIY Flat Roof Leak Repair
Before you get started, ensure you have the right tools, materials, and safety equipment. Proper preparation will make the repair process smoother and more effective.
You may also read (discover the charm of a home cupola roof).
Essential Tools
- Utility knife: For cutting damaged materials or patches.
- Trowel: To apply and spread roofing materials like cement or sealant.
- Roofing brush or roller: For cleaning and applying coatings.
- Cleaning supplies: Mild detergent, scrub brush, and rags for cleaning the surface.
Materials
- Roofing caulk: Ideal for sealing small cracks and gaps.
- Roofing tape: Useful for minor punctures or tears.
- Waterproof membrane: A durable solution for larger leaks.
- Bitumen sealant: This is used to create a strong, waterproof barrier.
- Rubber roofing sealant: Specifically designed for EPDM and rubber roofs.
Safety Equipment
- Gloves and goggles: To protect your hands and eyes during the repair.
- Ladder safety gear: Ensure your ladder is stable, and always have someone nearby when working at heights.
Step-by-Step Guide: How to Fix a Leak on a House Flat Roof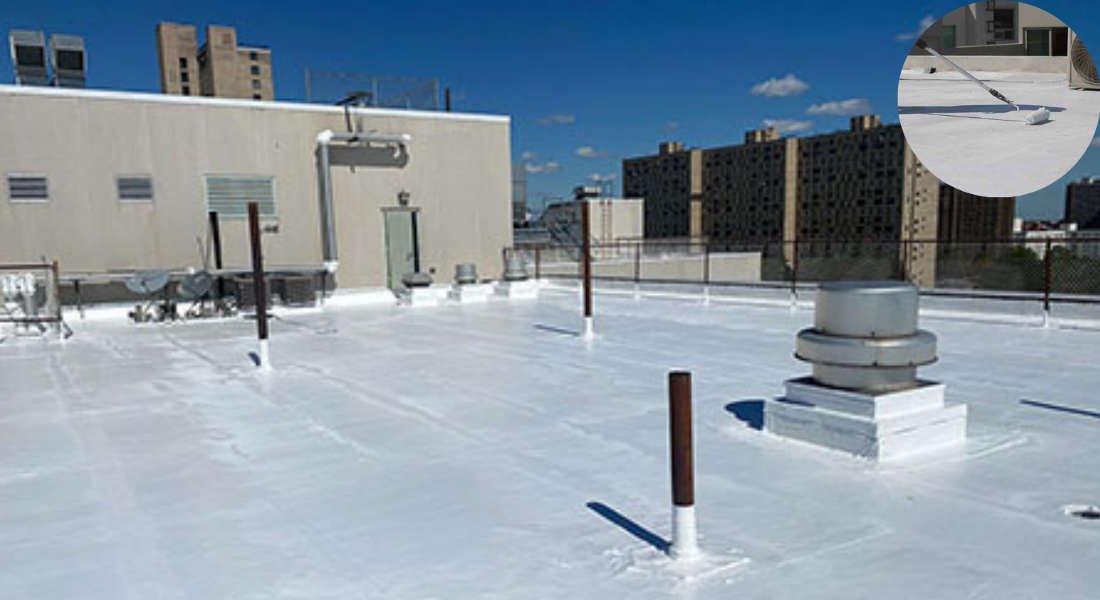
Now that you’re equipped with the right tools and materials, let’s walk through the repair process step by step.
Inspect the Roof Thoroughly
The first step is to locate the leak.
- Start by examining the entire roof, focusing on seams, vents, flashing, and any areas where water might collect.
- Use a garden hose to test for leaks if you’re unable to spot the source.
- Make sure the weather is dry during the inspection to avoid slipping or additional water damage.
Clean the Affected Area
A clean surface is crucial for effective repairs.
- Remove debris, dirt, moss, or old sealant from the area.
- Use a mild detergent and water to scrub the surface.
- Allow the area to dry completely before proceeding.
Remove Loose or Damaged Roofing Material
If there are torn or loose materials, they must be removed.
- Carefully cut away the damaged section using a utility knife.
- Smooth out the edges to prepare for patching.
Apply Roofing Caulk for Small Cracks and Gaps
For minor leaks:
- Use roofing caulk to fill in small cracks or gaps.
- Smooth the caulk with a trowel or your finger.
- Allow it to cure as per the manufacturer’s instructions.
Use Roofing Tape for Minor Punctures
For small punctures:
- Cut a piece of roofing tape slightly larger than the damaged area.
- Press the tape firmly onto the surface, ensuring there are no air bubbles.
Patch with Waterproof Membranes for Larger Leaks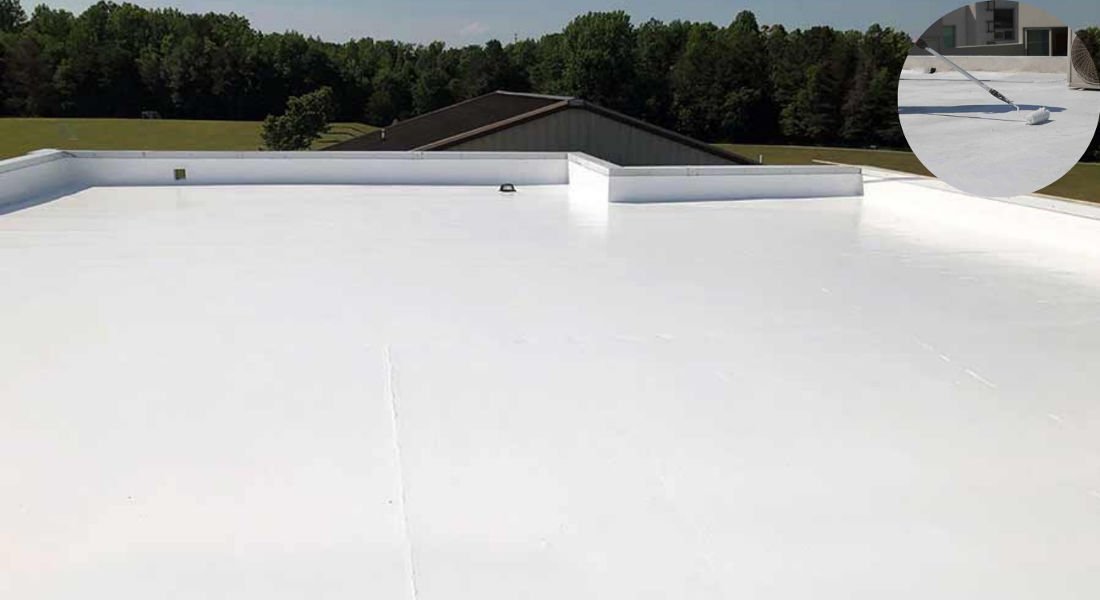
For larger leaks:
- Cut a patch of waterproof membrane to fit the damaged area.
- Apply adhesive or roofing cement to the patch and press it firmly onto the surface.
- Seal the edges with bitumen sealant for added protection.
Apply Bitumen Roof Sealant or Roofing Cement
For a durable seal:
- Spread bitumen roof sealant or roofing cement evenly over the repaired area.
- Use a trowel to smooth it out and ensure complete coverage.
Additional Tips for Rubber Roofs and Felt Roofs
- For EPDM rubber roofs, use rubber roofing sealant for flexibility and durability.
- For felt roofs, focus on resealing seams and flashings, and consider replacing sections if necessary.
When to Call a Professional
Sometimes, DIY repairs aren’t enough. Here’s when you should seek professional help:
- If the damage is extensive or you’re dealing with multiple leaks.
- When the roof structure is compromised, such as sagging or rotting, it is necessary to address it.
- If you’re unsure about the repair process and want to avoid causing further damage.
A professional inspection can provide peace of mind and ensure the job is done right.
Maintenance Tips to Prevent Future Leaks
Prevention is better than cure. Follow these tips to keep your flat roof in good condition:
- Inspect your roof regularly: Check for signs of wear and tear at least twice a year.
- Clean gutters and drains: Ensure proper water drainage to avoid ponding.
- Repair minor damage promptly: Address small issues before they turn into bigger problems.
- Seasonal maintenance: Before winter, check for cracks or weak spots that could worsen in freezing temperatures.
You may also read (home tarping a leaking roof made easy).