
When disaster strikes and water starts dripping into your home, it’s easy to feel overwhelmed. Roof leaks are one of the most common and frustrating home maintenance issues, especially during storms or after years of wear and tear. Addressing the problem quickly can save you thousands of dollars in damage. Temporary fixes, like tarping, are often the best way to protect your home until professional help arrives.
Why Tarping a Leaking Roof Matters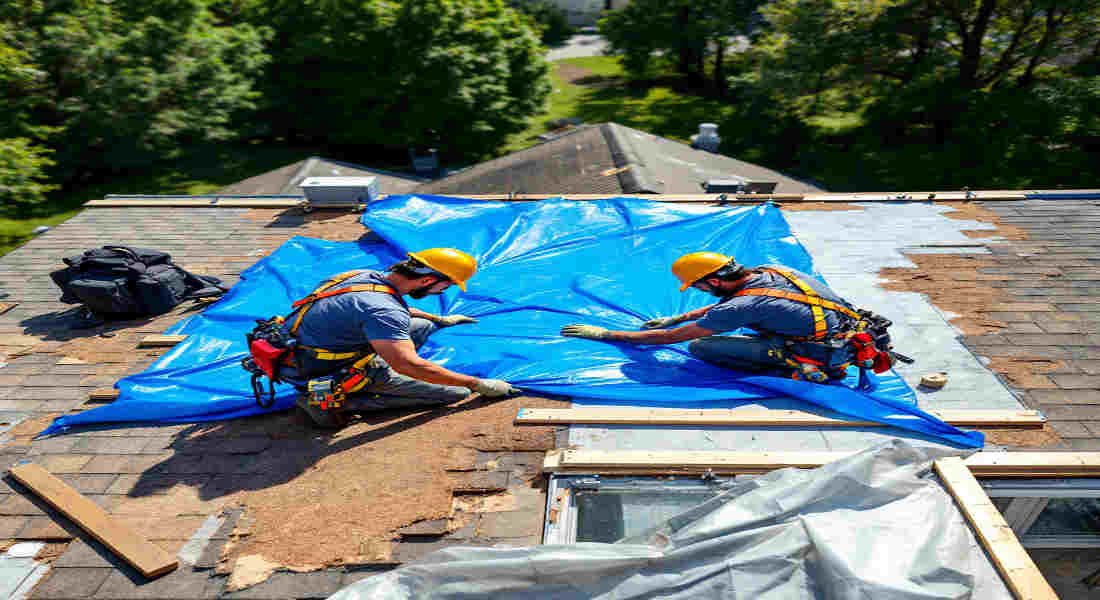
When your roof starts leaking, taking immediate action is critical. Here’s why:
Protect Your Home from Water Damage
A leaking roof can cause extensive damage to your home’s interior, from ruined drywall to warped flooring and even mold growth. By tarping the roof, you create a barrier that prevents further water intrusion.
Common Causes of Roof Leaks
Roof leaks can happen for several reasons, including:
- Storm Damage: High winds, hail, and heavy rain can damage shingles and create entry points for water.
- Missing or Broken Shingles: Over time, shingles may loosen, crack, or fall off altogether.
- Wear and Tear: Older roofs are more susceptible to leaks due to material degradation.
- Improper Installation: Poor construction can leave your roof vulnerable to leaks.
Tarping as a Temporary Solution
A tarp acts as a temporary shield that buys you time to arrange professional repairs. However, it’s important to recognize when tarping is enough and when it’s time to call a roofer. If the damage is extensive or you’re unable to tarp safely, seek professional help immediately.
Materials and Tools You’ll Need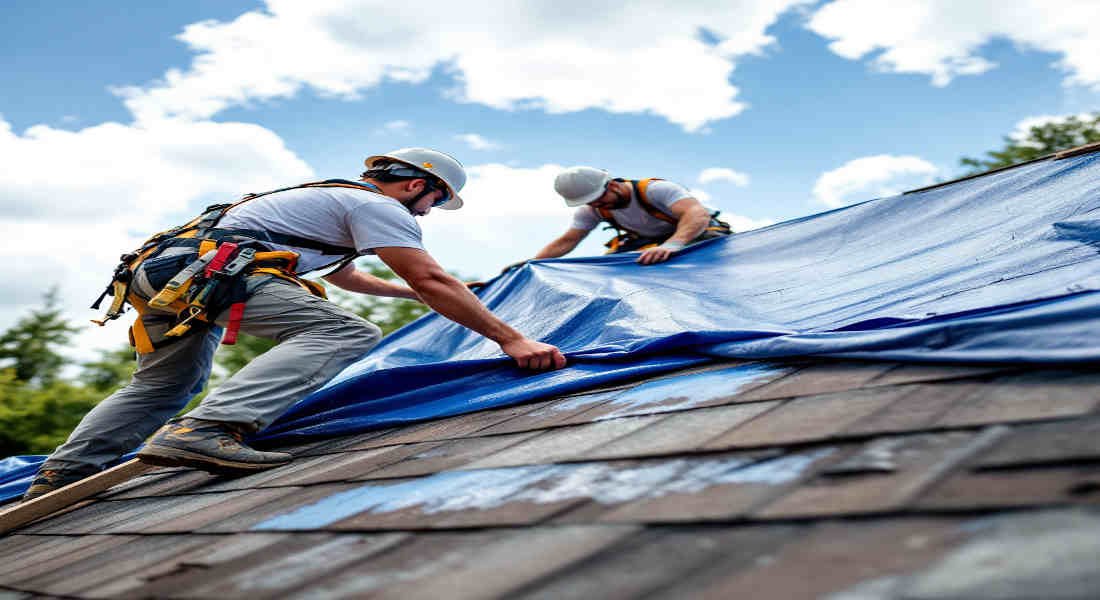
Before you begin tarping your roof, gather the right materials and tools to ensure a secure and effective installation.
You may also read (necessary for home roof sheathing).
Essential Materials
- Heavy-Duty Tarp: Choose a waterproof, UV-resistant tarp large enough to cover the damaged area.
- 1×2 or 1×4 Wooden Boards: These will help anchor the tarp and prevent it from flapping.
- Nails or Screws: Roofing nails with washers are ideal to secure the tarp.
- Rope or Bungee Cords: These are useful for additional fastening in high winds.
- Waterproof Sealant (Optional): Enhances protection by sealing edges and seams.
Safety Equipment
- Ladder: Ensure it’s stable and tall enough to comfortably reach your roof.
- Safety Harness: Vital for preventing falls while working on the roof.
- Gloves: Protect your hands from sharp edges and debris.
- Utility Knife: This is used to cut the tarp to size.
- Hammer or Screwdriver: Depending on your chosen fasteners.
Choosing the Right Tarp
Select a tarp that’s sturdy, durable, and weather-resistant. It should be large enough to extend at least 4 feet beyond the damaged area to prevent water from sneaking under.
Step-by-Step Guide: How to Put a Tarp on a Leaking Home Roof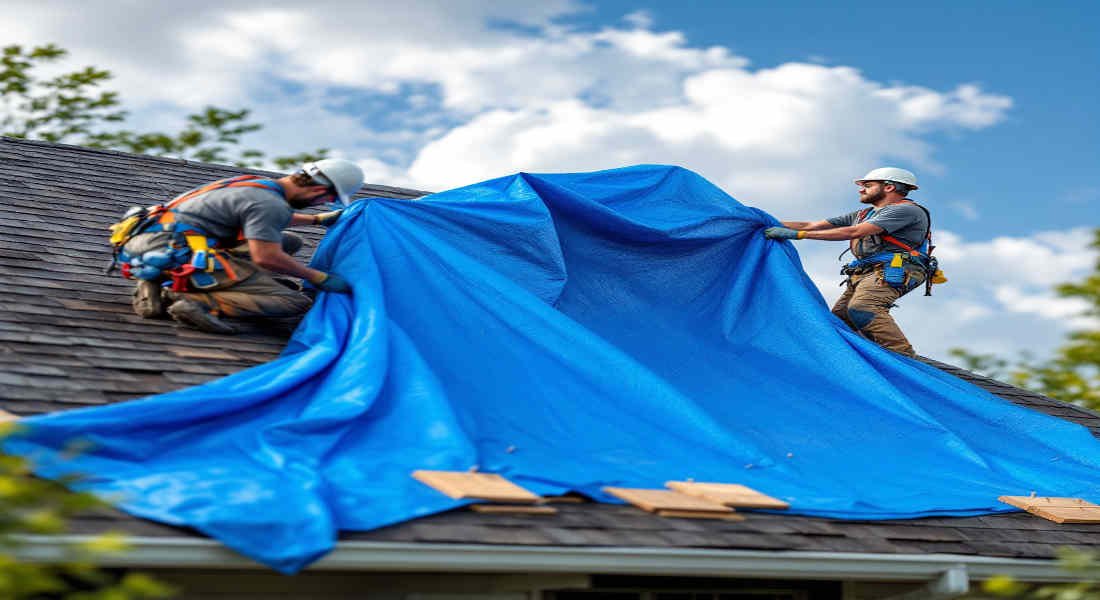
Let’s break the process into manageable steps so you can confidently tackle the task.
Assess the Damage and Locate the Leak
Start by inspecting your roof to determine the extent of the damage.
- Safety First: Use a sturdy ladder and wear a safety harness. Never climb onto the roof during bad weather.
- Locate the Leak: Look for missing shingles, cracks, or visible holes. Trace the water damage inside your home to pinpoint the problem area.
- Assess the Damage: Check the surrounding area to see if additional repairs are needed.
Prepare the Roof Surface
Before installing the tarp, prepare the surface to ensure it adheres properly.
- Clear Debris: Remove leaves, branches, and loose shingles from the damaged area.
- Create a Safe Workspace: Ensure the roof is dry and free of slippery debris.
Position the Tarp Correctly
Proper placement is key to keeping your roof leak-free.
- Unfold the Tarp: Lay it flat over the damaged area. Ensure it extends at least 4 feet beyond the leak and covers the ridge/peak of the roof for optimal water runoff.
- Align with the Slope: Position the tarp along the roof’s slope to allow water to flow naturally toward the gutters.
Secure the Tarp
Securing the tarp ensures it stays in place during storms or windy conditions.
- Nail the Edges: Lift nearby shingles and nail the tarp underneath, using roofing nails with washers. Avoid nailing through the tarp’s seams.
- Anchor with Wooden Boards: Place 1×2 or 1×4 boards along the tarp’s edges and nail them down every 16 inches. This prevents the tarp from flapping or tearing.
- Fasten Corners: Use ropes or bungee cords to secure the corners to a stable structure or heavy object.
- Seal the Edges (Optional): Apply waterproof sealant along the tarp’s edges for extra protection.
Safety Tips When Tarping Your Roof
Roof work can be dangerous, so always prioritize safety:
- Use a Stable Ladder: Have someone hold the ladder steady while you climb.
- Wear a Safety Harness: Attach it to a secure anchor point on the roof.
- Avoid Electrical Hazards: Be mindful of power lines near your roof.
- Work with a Partner: Having someone assist you makes the job safer and faster.
- Check the Weather: Never attempt to tarp your roof in high winds, heavy rain, or icy conditions.
You may also read (discover the charm of a home cupola roof).
Monitoring and Maintenance After Installation
Once the tarp is in place, it’s important to keep an eye on its condition.
Task Frequency: What to Look For
Inspect the tarp condition. Weekly or after storms, Tears, loose fasteners, or sagging.
Adjust or replace tarp, as needed. Signs of wear or water seepage
Check fasteners, Weekly Rusted nails, or loose wooden boards
Remember, a tarp is only a temporary fix. Schedule a professional roof repair as soon as possible to prevent further damage.
Common Mistakes to Avoid
Even with the best intentions, mistakes can happen. Here’s what to avoid:
- Nailing Through Seams: This can cause more leaks.
- Insufficient Tarp Coverage: Ensure the tarp extends well beyond the damaged area.
- Ignoring Safety Precautions: Always use proper equipment and avoid risky conditions.
- Delaying Repairs: Prolonging professional repairs can lead to more extensive damage.
You may also read (transform your home winter roof installation guide).