
Imagine you’re standing in your outdated bathroom, staring at those worn-out tiles that have seen better days. You’ve finally decided it’s time for a refresh, but one big question pops up: how long does it take to retile a bathroom? It’s a common worry for homeowners like you, especially when you’re juggling work, family, and the chaos of renovation. You don’t want your daily routine disrupted for weeks on end. Well, relax—I’m here to guide you through it all.
Key Factors That Determine Your Bathroom Retile Timeline
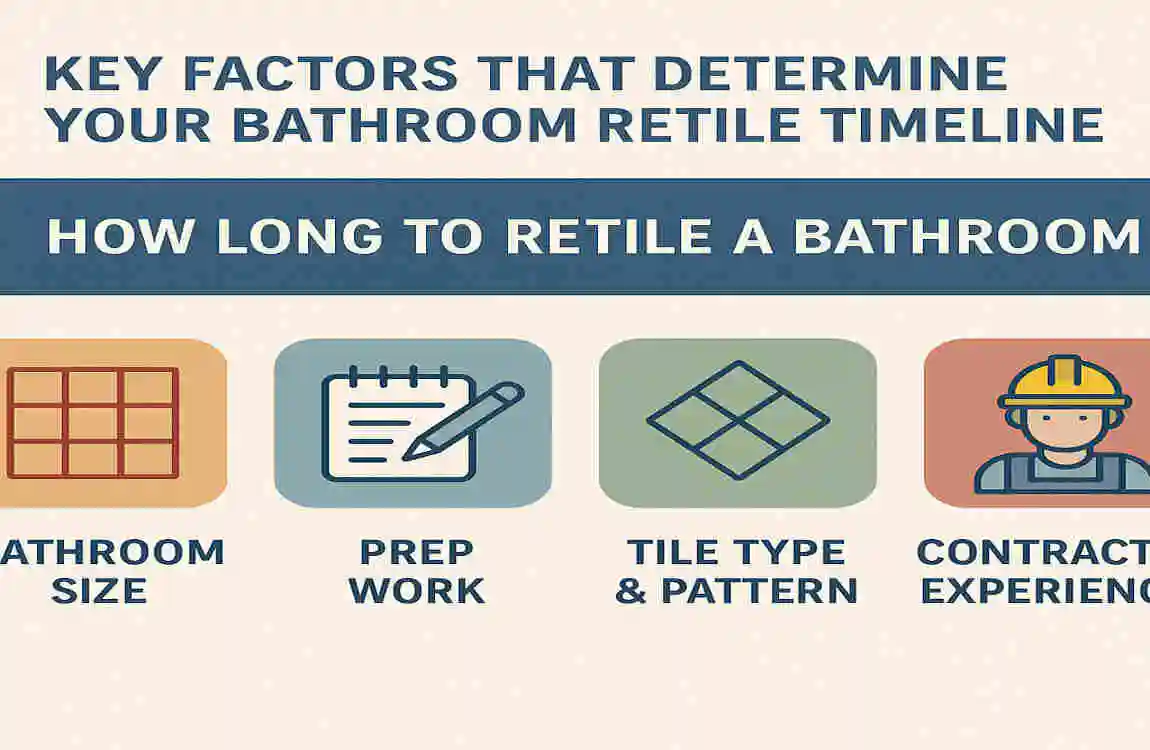
When you search for how long to retile a bathroom, the answer isn’t one-size-fits-all. Several variables come into play, and understanding them helps you set realistic expectations. Let’s break it down step by step so that you can plan accordingly. Think of this as your roadmap to avoiding surprises.
Bathroom Size and Layout
The size of your bathroom is a major player in the retail bathroom duration. A small powder room, say, under 50 square feet, might take only 1-2 days for pros. But if you’re dealing with a spacious master bath over 150 square feet, expect 5-10 days or more. Why? Larger areas mean more tiles to lay, more cuts to make, and more time for everything to dry.
Layout matters too. Suppose your bathroom has awkward corners, built-in shelves, or a complex shower setup, which adds hours. You should work around fixtures, which slows things down. Pro tip: Measure your space twice before starting. This simple step can prevent delays from miscuts.
To make it easy, here’s a quick table showing how size impacts time:
Bathroom SizeDIY TimePro Time
<50 sq ft 1-3 days 1-2 days
50-100 sq ft 3-5 days 2-4 days
>100 sq ft 5-10 days 4-7 days
See? For a standard 75-square-foot bath, you’re looking at a solid 3-5 days if going DIY.
Tile Type and Complexity
Not all tiles are created equal when it comes to installation speed. Ceramic or porcelain tiles? They’re straightforward and can go down quickly—think 15-20 square feet per hour for a pro. But if you opt for intricate mosaics or large-format slabs, prepare for extra time. Mosaics require precise placement, and large tiles often need more cutting and levelling.
Complexity ramps up with patterns, too. A simple grid layout flies by, but a herringbone design? That could add a whole day. Here’s a tip: Choose pre-cut tiles if possible—they can save you 20-30% on time, according to Angi experts.
Existing Condition
Before new tiles go in, the old ones must come out. Demolition for a bathroom in good shape takes 1-2 days. But if heavy adhesive or water damage is lurking beneath, you’re adding 1-3 days to the repair time. Inspect for issues like rotting subfloors early—ignoring them leads to bigger problems later.
Water damage is sneaky. It might mean replacing the backer board or even plumbing fixes, extending your tiling project timeline. Always factor in a buffer for these surprises.
DIY vs. Professional Installation
Are you handy with tools? DIY can be rewarding, but it often doubles the time due to the learning curve. Pros, on the other hand, finish 30-50% faster, per Angi reports. They handle tools like wet saws with ease and spot issues you might miss.
If you’re new to this, DIY could stretch a 3-day pro job to 7 days. But hey, if you enjoy the process, go for it—build in extra time.
Unexpected Delays
Life happens, right? Supply shortages, like waiting for that perfect grout colour, can tack on days. Permits might be needed in some areas, adding bureaucracy. And errors? An uneven subfloor could mean a full day of levelling.
Weather plays a role, too—high humidity slows drying. Plan for a 10-20% buffer in your bathroom renovation schedule to stay sane.
By considering these factors, you’ll get a clearer picture of your project’s timeline. Remember, preparation is your best friend here.
Complete Step-by-Step Timeline: How Long to Retile a Bathroom
Now that we’ve covered the factors, let’s get to the heart of it: a detailed bathroom retile timeline. This step-by-step guide assumes a standard 50-100 square foot bathroom. We’ll walk through each phase, with time estimates for both DIY and pros. You can adjust based on your setup. Ready to visualise your project? Let’s dive in.
Day 1: Preparation and Demo 4-8 Hours
Kick things off by clearing the space. Move out toiletries, rugs, and anything breakable. Protect fixtures like the toilet and sink with plastic sheeting—it’s quick and effective at preventing damage.
Next, demo time. Grab a chisel, hammer, or grinder to remove old tiles. This can take 2-4 hours, depending on how stuck they are. Be careful not to damage the subfloor.
Finally, inspect and repair. Level any uneven spots with self-levelling compound. This step might add 2-4 hours, but saves headaches later—pro insight: Rent a demo hammer to cut this phase in half.
Day 2: Surface Prep and Layout 4-6 Hours
After the demo, clean the area thoroughly. Sweep away debris and wipe down surfaces to ensure good adhesion.
Apply backer board or cement board for a stable base. This takes about 2 hours and is crucial for preventing cracks.
Then, dry-lay your tiles. Arrange them without adhesive to plan the pattern. Use a laser level for straight lines—it saves rework. You might spend 2-4 hours here, tweaking for perfection.
Days 3-5: Tiling Installation Core Phase, 20-40 Hours Total
This is where the magic happens. Start by mixing thinset mortar—follow the package for the right consistency.
Apply it in sections using a notched trowel. Work from the centre outward to keep things balanced.
Lay the tiles, pressing them firmly. Aim for 10-20 square feet per hour if you’re experienced. Use spacers for even grout lines.
Cut tiles for edges and obstacles with a wet saw. This can be time-consuming for complex shapes.
Take breaks to let sections set. For a 100-square-foot bath, pros might finish in 5-7 hours per tile type, but DIYers could need twice that.
Here’s a table to compare install speeds:
Tile TypeSq Ft/Hour (Pro)Total Time (100 sq ft)
Porcelain 15-20 5-7 hours
Mosaic 8-12 8-12 hours
Natural Stone 10-15 7-10 hours
Adjust for your pace—mosaics slow things down due to all those tiny pieces.
Day 6: Grouting and Initial Curing (4-6 Hours + 24-Hour Wait)
Once tiles are set, apply grout with a float, pushing it into joints. Work in small areas to avoid drying out.
Clean excess grout with a damp sponge right away—it’s easier than scraping later.
For stone tiles, add a sealer now. Then, wait 24 hours for initial curing. No walking on it yet!
Day 7+: Final Curing, Caulking, and Reassembly (1-2 Days)
Let everything cure fully—24-72 hours total, depending on humidity. Avoid water to prevent issues.
Caulk around edges for a waterproof seal. This takes about an hour.
Reinstall fixtures, such as the toilet and vanity. Test for leaks, and you’re done!
Pro tip: Quick-dry grout can shave off a day here.
Full Project Timeline Variations
For a standard bath, pros wrap up in 3-5 days, while DIY takes 5-10. If integrating into a complete reno with plumbing, expect 1-3 weeks. Shower-only retile? Often 4-7 days.
You now have a clear tiling project timeline. Adapt it to your needs and watch your bathroom transform.
Expert Pro Tips to Minimise How Long to Retile a Bathroom
You’ve got the timeline—now let’s make it faster. As someone who’s seen countless renovations, I know the right tips can cut days off your project. These are actionable ideas for homeowners like you. Let’s group them for easy reading.
- Prep Hacks: Start by renting a demo hammer—it slashes removal time by 50%. Stock 20% extra tiles to avoid mid-project runs to the store.
- Efficiency Boosts: Tile with a buddy; one mixes mortar while the other lays. Use uniform spacers for quick, even joints—saves hours of adjustments.
- Common Mistakes to Avoid: Don’t skip primer on the subfloor; it leads to adhesion failures and a full-day redo. Rushing grout application? That causes cracks and delays—take your time.
- Weather and Season Tips: Steer clear of humid summers, as they slow curing by 20%. Opt for spring or fall for optimal conditions.
- Cost-Saving Strategies: Batch-order all materials upfront to dodge shipping delays. Choose easy-to-install tiles like porcelain over fussy mosaics.
- Organisation Tricks: Label your tools and keep your workspace clean. This prevents lost time hunting for that one spacer.
- Safety First: Wear gloves and a mask during the demo—accidents add unnecessary days.
For tools that really speed things up, check this checklist table:
Essential Tool: Why It Saves Time
Wet saw: Precise cuts without chipping
Notched trowel ensures even thinset spread
Grout float: Applies grout quickly and evenly
The laser level keeps the lines straight from the start
Implementing these? You’ll notice your retail bathroom duration shrinking. Remember, pros use these daily—why not you?
One real-world example: A homeowner I know cut their timeline from 7 to 4 days by pre-cutting all edge tiles. You can do the same. What tip will you try first?
Budgeting Time and Money for Retiling
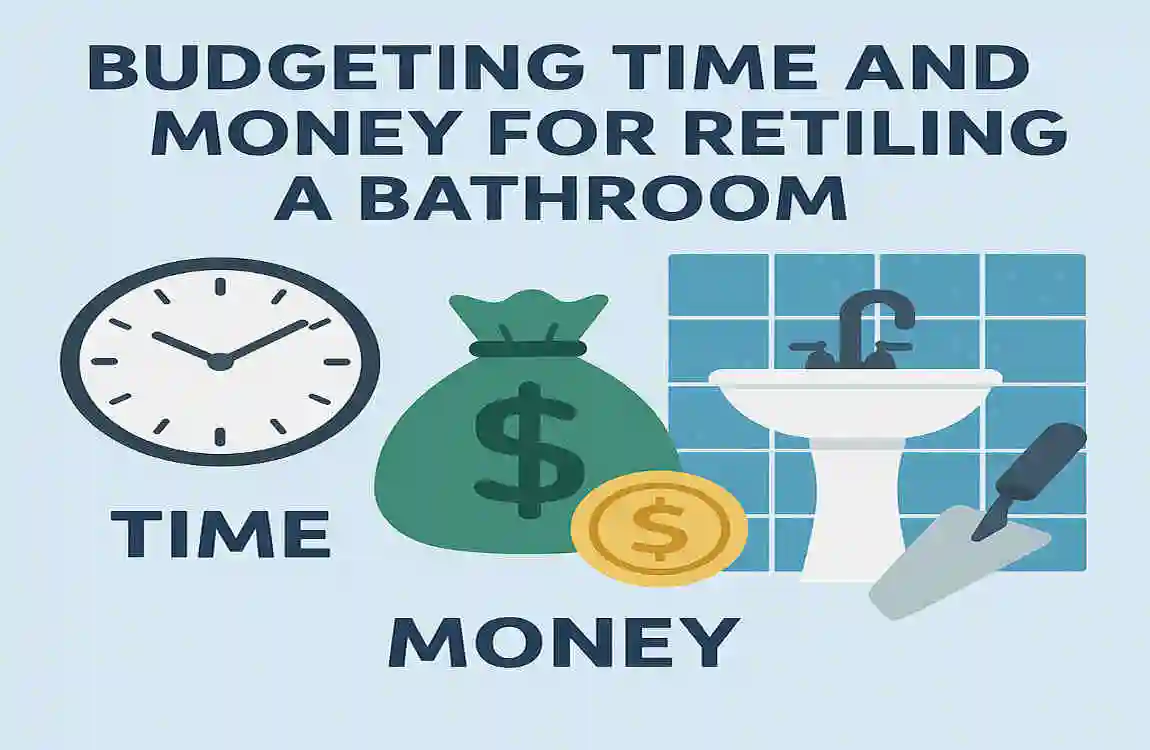
Tying the timeline to the budget is smart—longer projects often mean higher costs. Let’s explore how long it takes to retile a bathroom and how it affects your wallet.
Average costs range from $10 to $ 25 per square foot, including labour and materials. For a 75-square-foot space, that’s $750- $ 1,875. Pros charge more upfront but save time, reducing overall hassle.
DIY? You might spend $5-15 per square foot on materials alone, but factor in tool rentals ($50-100/day). Time is money—if DIY stretches to 10 days, that’s lost wages or productivity.
When to hire pros? For complex layouts, they’re twice as fast, per HomeAdvisor. Their expertise avoids costly mistakes like botched grout jobs.
Here’s a quick ROI table for Pro vs. DIY:
ApproachTime (75 sq ft)Cost EstimateBest For
DIY 5-7 days $500-1,000 Budget-savvy hands-on folks
Pro 2-4 days $1,000-2,000 Busy homeowners or complex jobs
Ultimately, balance your skills with your schedule. Pros often pay off in the long run.